Feedbump Documentation
Find everything you need to grow your business with Feedbump.
Get Started
The get started guide gives you everything you need to get up and running with Feedbump in no time.
GoProjects and Feedback Pages
Learn to create, customize, and configure, and publish your own feedback page.
GoFeedbump API Documentation
Embed and customize your Feedback page on your existing website. No server-side code required.
GoGet Started
Feedbump is the best tool for collecting feedback from your customers. This section will help you get up and running with Feedbump in less than 2 minutes.
Creating Your Account
Start by visiting the registration page.
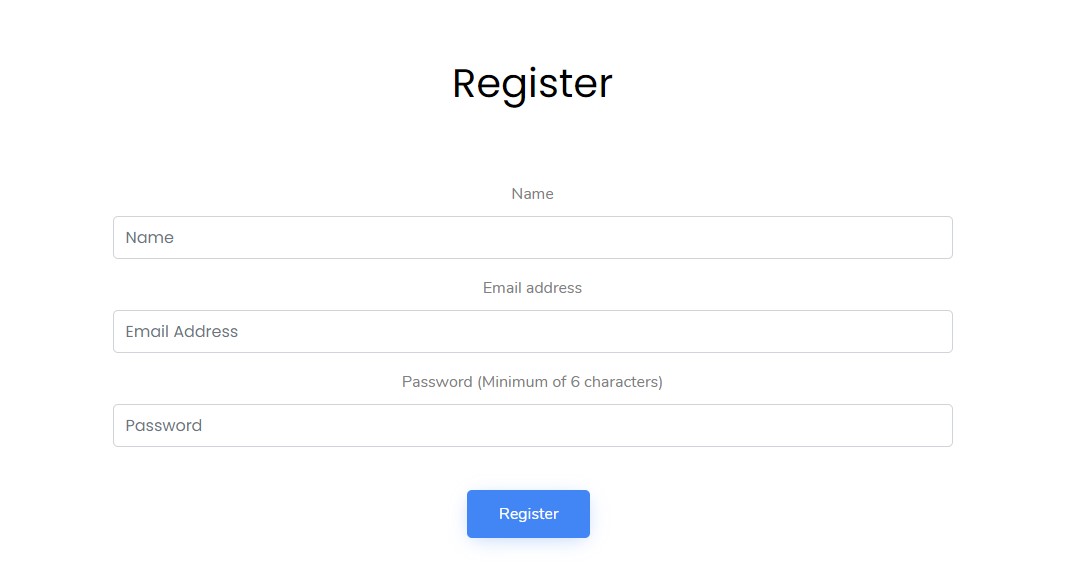
You can create your account with your email address on that page. Once you're done, you will be asked to verify your email. Follow the instructions in the email sent to your email address to verify your email.
Projects and Feedback Pages
Projects are spaces for each of your feedback pages. All feedback will be attached to each project and will help keep your feedback organized.
Creating Your First Project
After logging in, navigate to the create project tile in your dashboard.
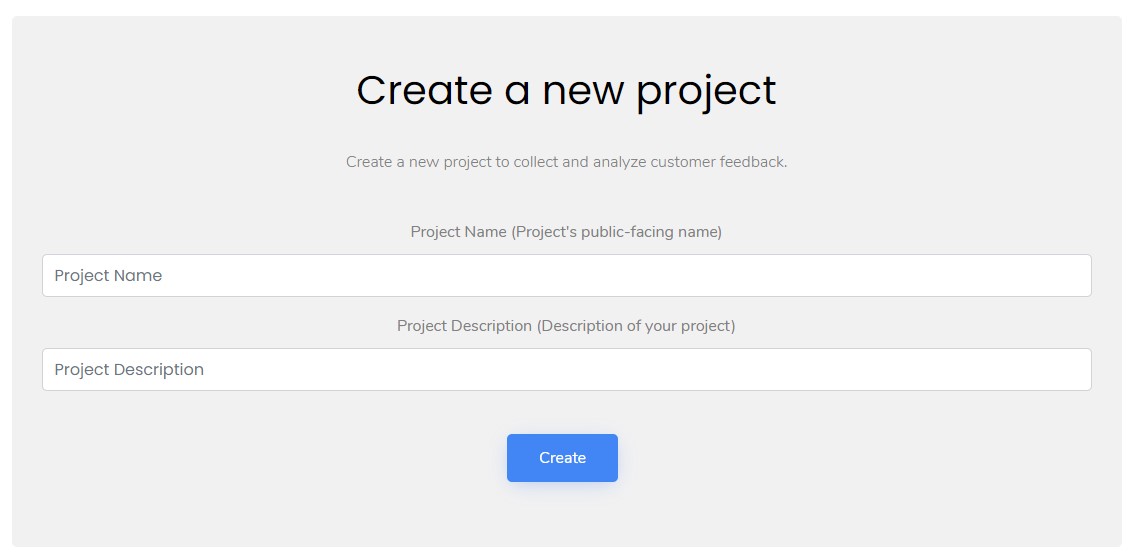
Give your project a name and description. The name will be availible to the public, but the description is for internal use. After you are done, click create and you will be redirected to the project viewport.
Sharing Feedback Pages
It's time to start collecting feedback. Copy the link in the "Feedback Page" tile and click Copy to copy the full URL. To preview your feedback page, click the open button or visit your feedback page in your favorite browser.

Now your customers can send you feedback! Learn to customize your feedback page to fit your brand below.
Customizing Feedback Pages
Make your feedback page feel like home! Add custom colors, styles, and text to let your customers know that you're the real deal.
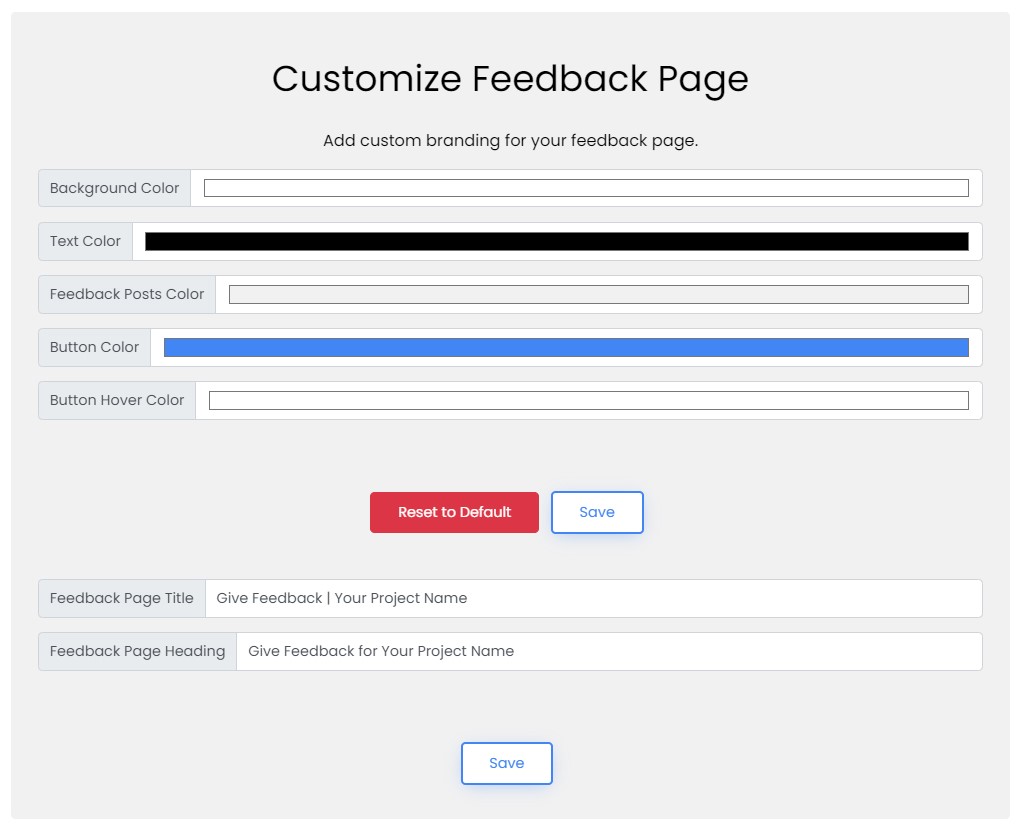
Customize your colors and text to your liking and click save once you are done.
Collecting and Managing Customer Feedback
Customer feedback can be managed from the project viewport.
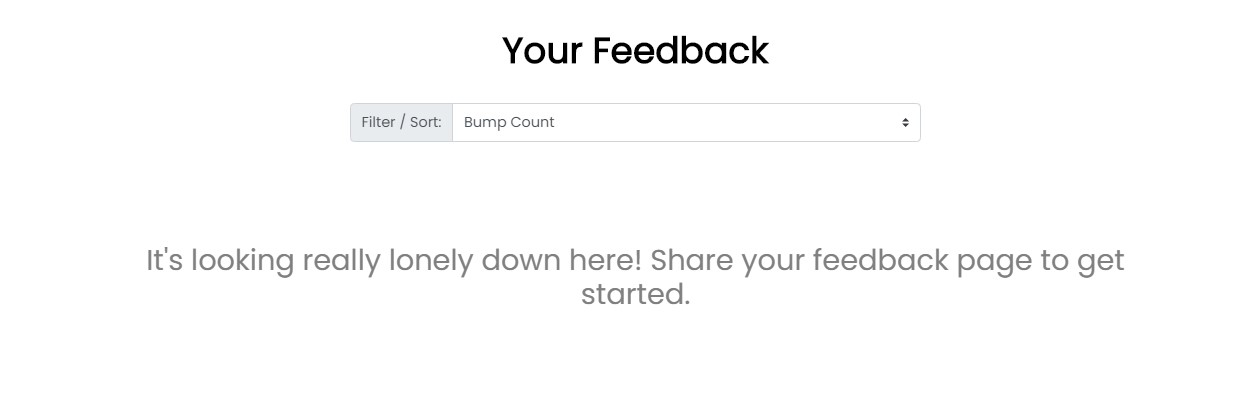
Once you have feedback, you will be able to sort, filter, and apply status updates on all feedback posts.
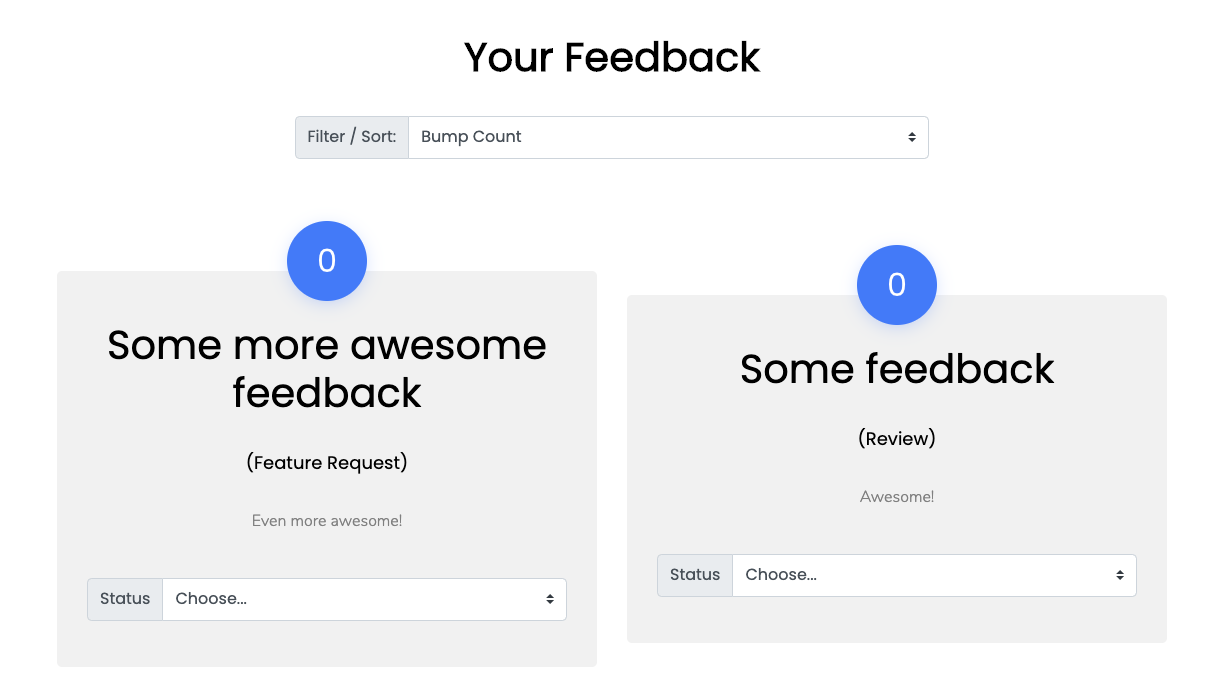
Feedbump API Documentation
You can customize your feedback page to the maximum with the Feedbump API. Collect and manage feedback with your own styles without a single line of backend or server-side code.
Getting Started
The Feedbump API does not require any dependencies on your frontend or backend code. Feedback submissions is powered by a simple POST request to our HTTPS endpoint though a HTML form.
Start by adding your domain to the list of authorized domains in the dashboard.
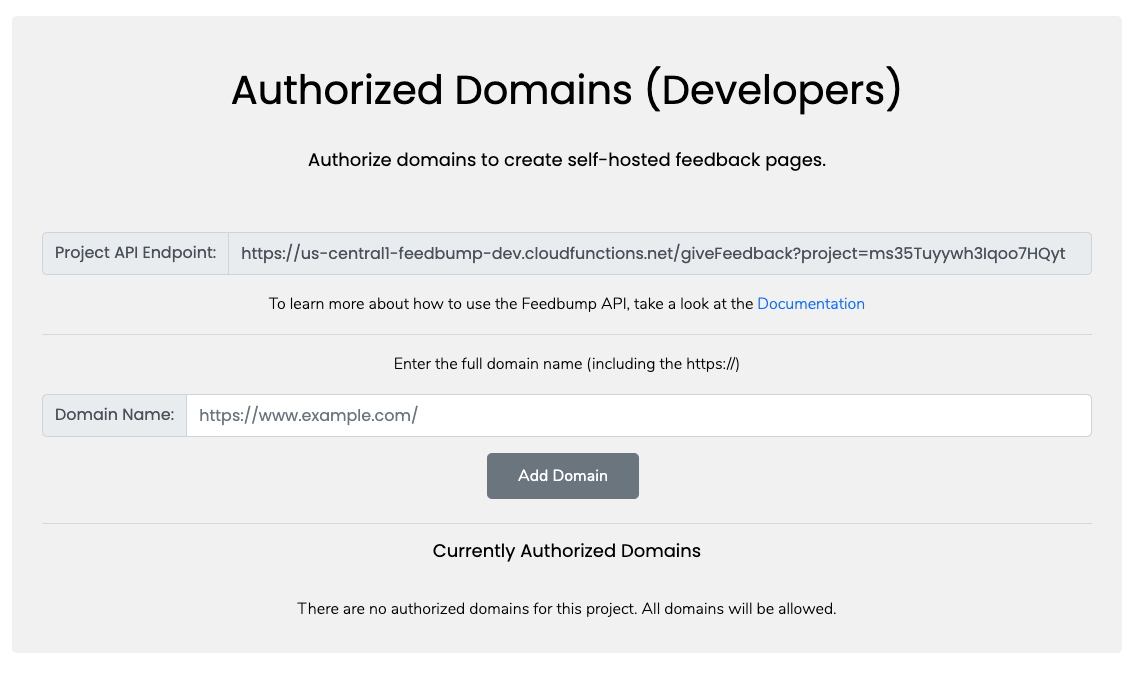
Type your domain name and click "Add." The URL must be complete (https://example.com/). Only this domain will be authorized to make feedback page submissions to your project.
Website Implementation
The Feedbump API is called through a POST request to your project's API endpoint. This can be found in the project dashboard.
<form method="POST" enctype="application/x-www-form-urlencoded" action="[YOUR-API-ENDPOINT]">
  <input type="text" name="title" placeholder=""/>
  <input type="text" name="description" />
  <input type="submit" value="Give Feedback" />
</form>
The action element should point to your project's endpoint. The data should be submitted in application/x-www-form-urlencoded format. Add enctype="application/x-www-form-urlencoded" to your form tag. The request method should also be set to POST. Add method="POST" to your form tag.
The Feedback Title input should contain the name="title" attribute.
The Feedback Description input should contain the name="description" attribute.
The Feedback Type input should contain the name="type" attribute.
The following are the allowed Feedback Types:
- General Feedback
- Review
- Feature Request
- Bug Report
- Review
- Other